
Contents
Geometric Shapes Everywhere!
In today’s tutorial we are going to learn how to create what is known as a Polygon Background. This effect has become extremely popular recently, and geometric shapes are popping up all over the place! This tutorial will teach you my personal method on how to create a Polygon Background in Cinema 4D. It really is one of the most simple tutorials you will ever follow, but can produce some great effects.
Cinema 4D is my tool of choice for this effect because It is so powerful and flexible. With literally a click of a button, you can remove what is known as a “phong tag”, and almost instantly create a low polygon effect to your 3D Model. In this tutorial all we need is a flat plane, and a displacer object, and then tweak a few of the render settings! Ok so lets get started.
Before we start, I must add, you need Cinema 4D R14+ When I believe the displacer object was added.
Step 1:
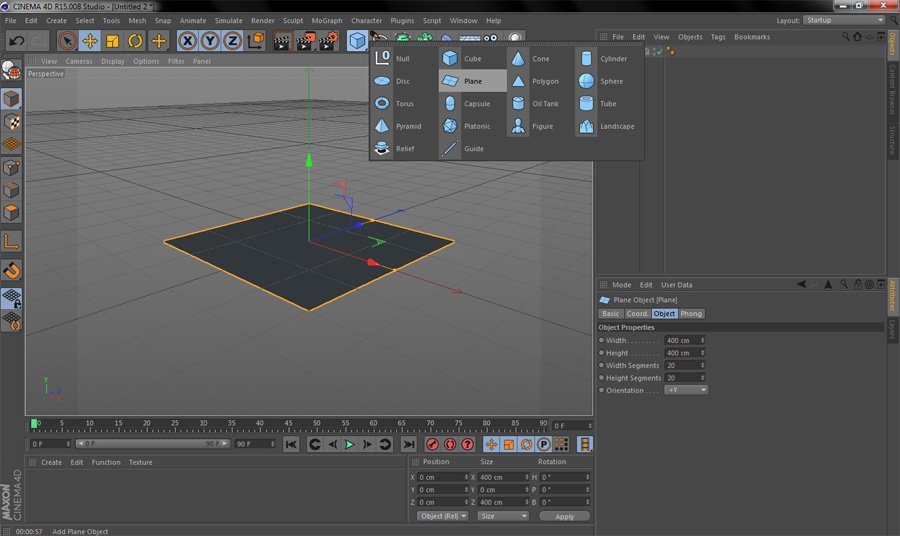
Open Cinema and create a new plane object as seen in the image below:
Step 2:
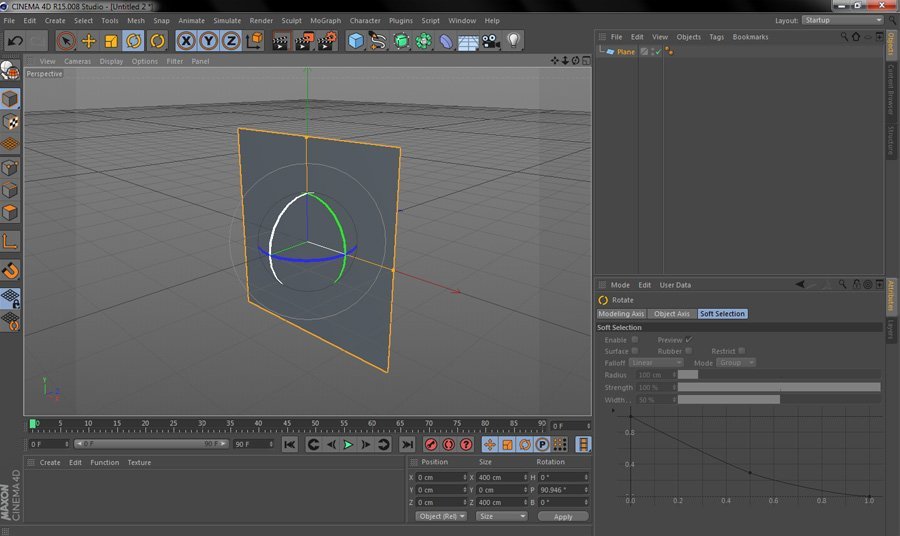
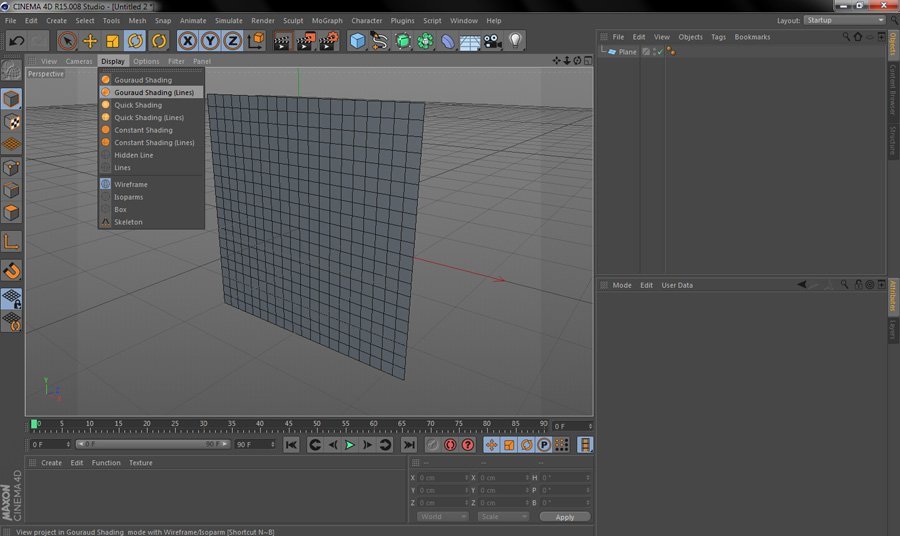
Press R for the rotate tool, and rotate the plane to a vertical position like the image below, then go to Display > Gouroud Shading (lines) to see the Segments of the plane we have created
Step 3:
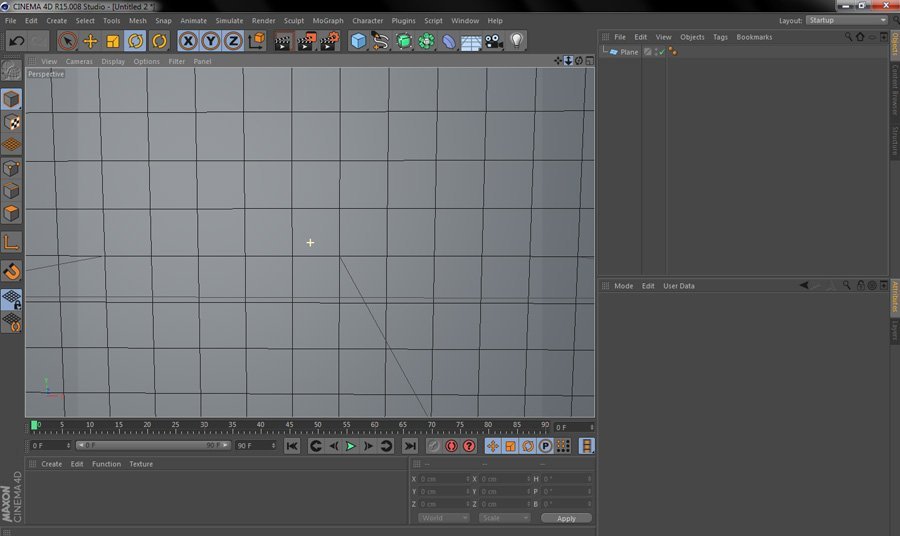
Press 2 (the number 2 on your keyboard)+ Click to zoom in, then use the Pan Tool to move around infront of the plane until you have something similar to the image below:
Step 4:
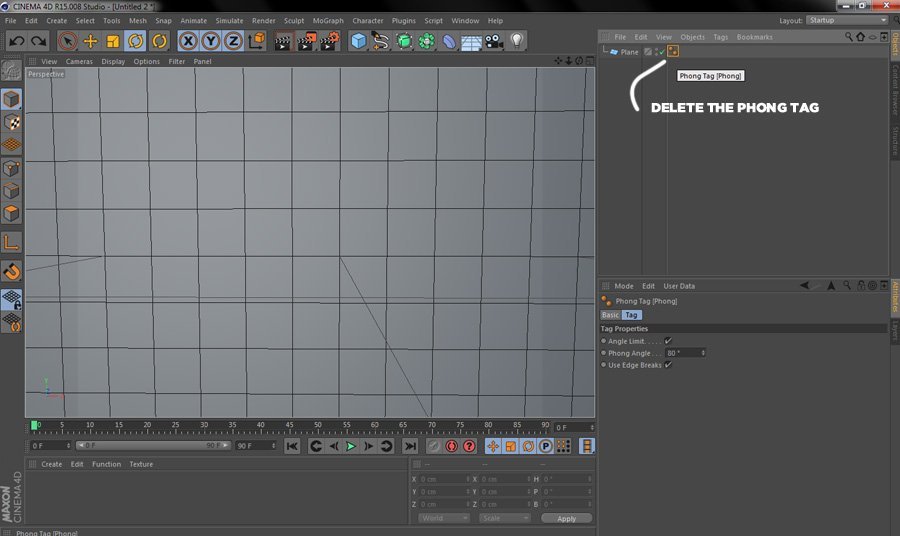
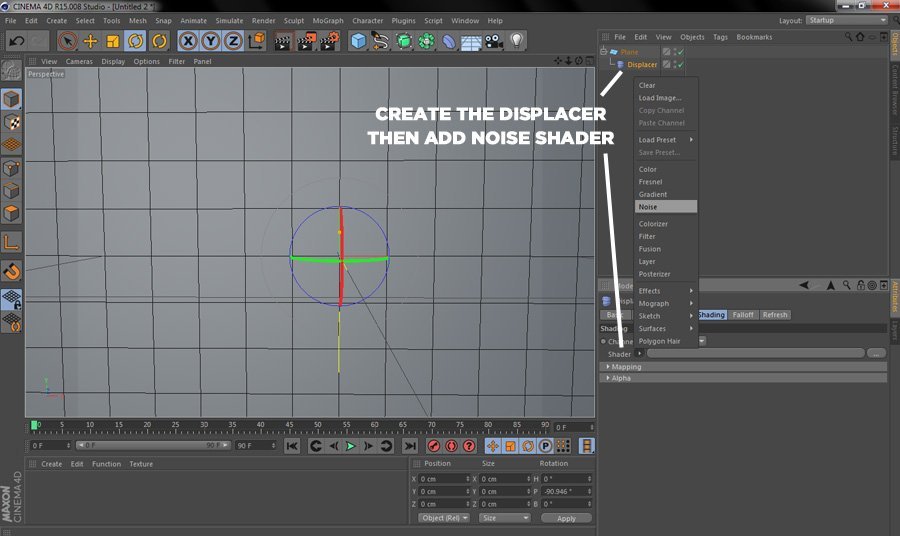
Click on the phong tag on your plane object and delete it.Next, go to your deformers and add a Displacer Object, then drag it onto your plane (making it a child of the plane). When you have done this, click on the displacer item and go to shading > shader > noise then go to object and change the height to 45cm

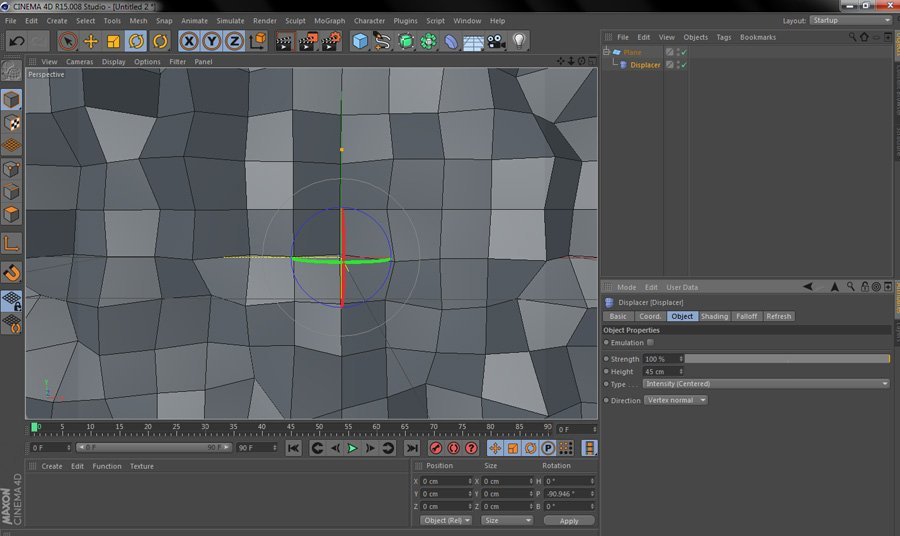
Right, now we’re getting somewhere, you can see the shape of the Polygons emerging and you can see how the noise shader has added some well needed depth to our simple plane, which will help later when we add global illumination to add some detailed shadows to the overall composition.
Step 5:
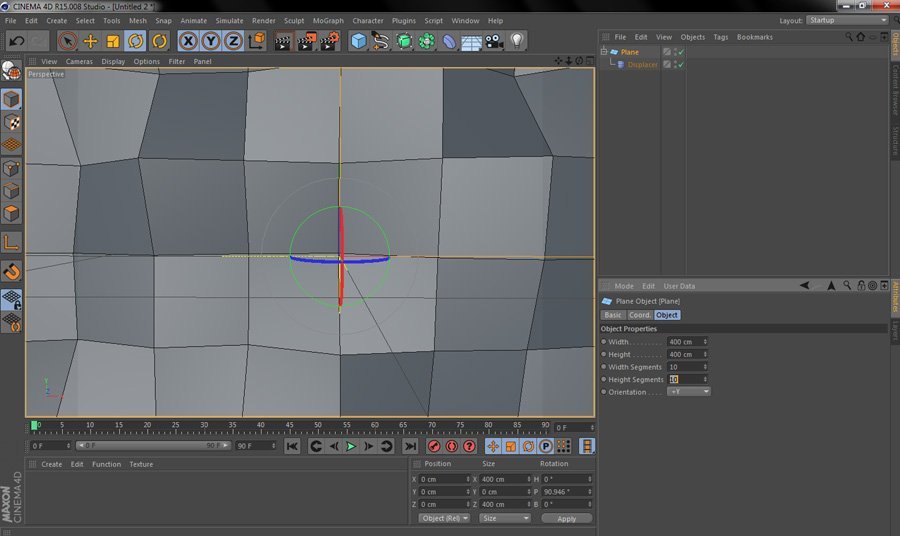
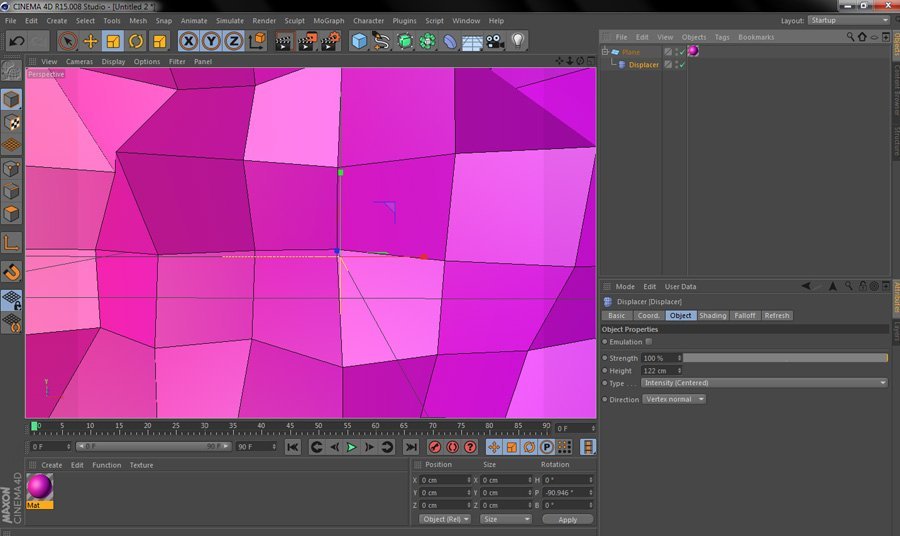
This is where your own creativity will start to come into play. For the sake of this tutorial we are going to reduce the polygon size by clicking on your plane then going to > object and changing the width and height segments to 10.
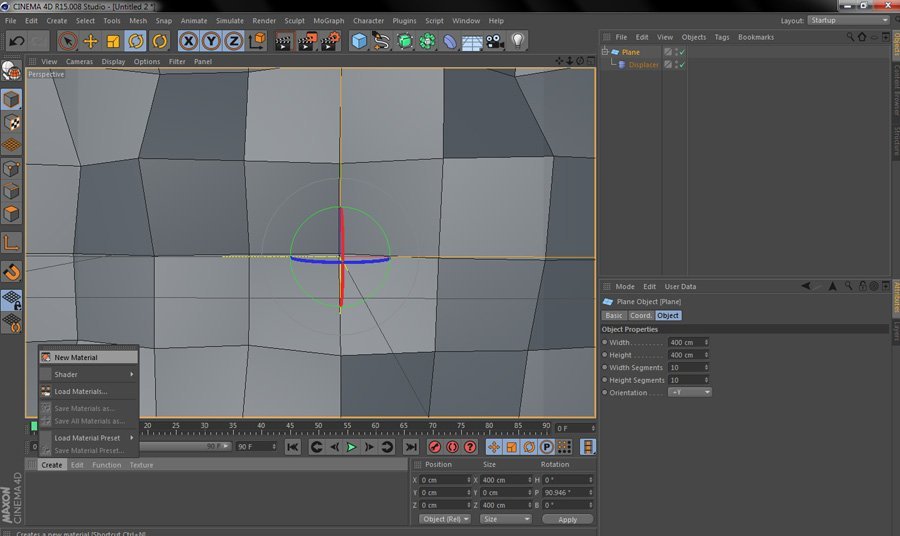
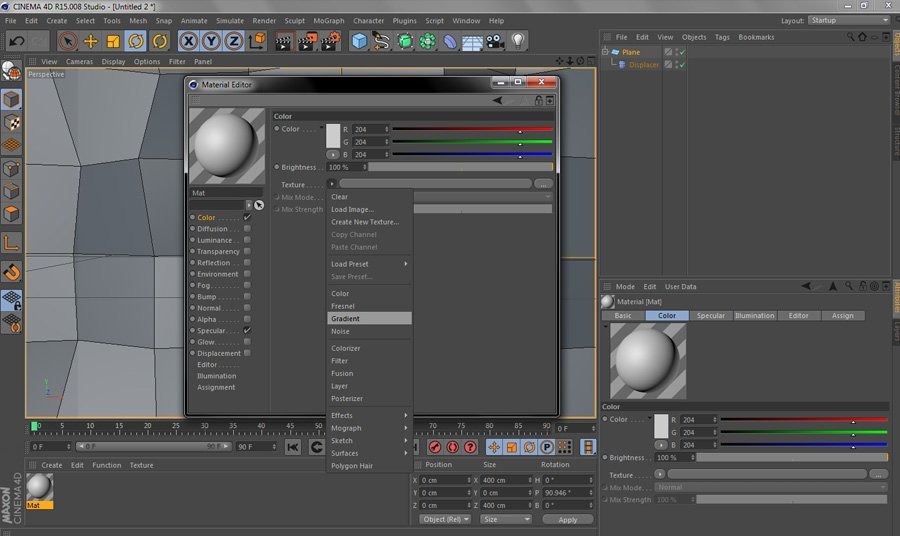
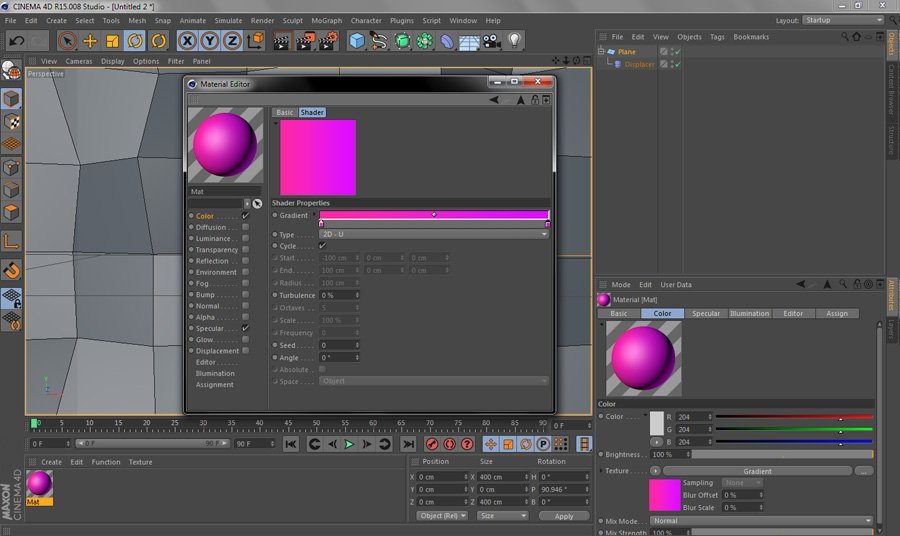
Sweet! Now we need to add a gradient, so go to Create > New Material, then double click your material and go to color > texture > gradient then click on the default white/black gradient and add a similar color to what we chose, pink and purple hues.

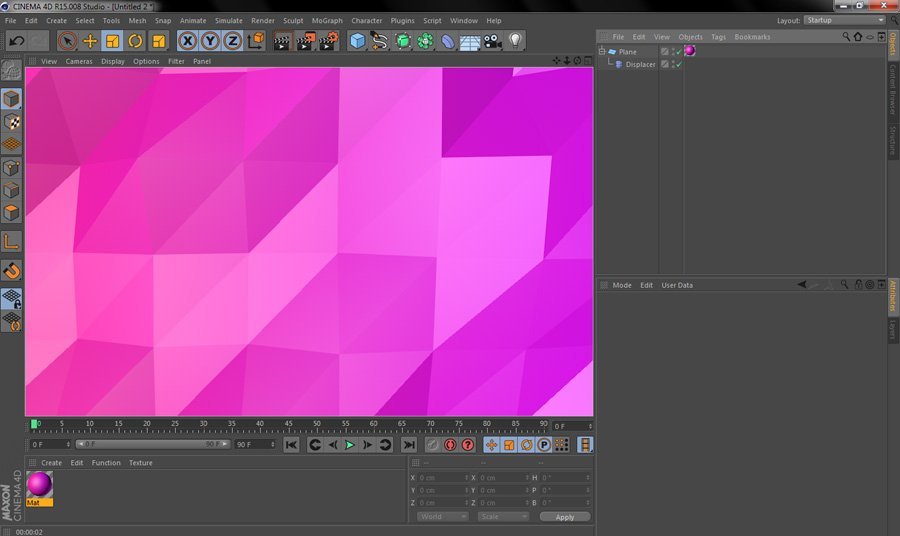
If you go ahead and press render you will see we already have a great looking Polygon Background effect, which is in the popular design style currently trending.
Taking it one step further:
Ok so that flat effect looks great, but what about adding some real depth to our image? Well here’s a great technique I use to not only get depth, but almost a cartoony feel to the image.
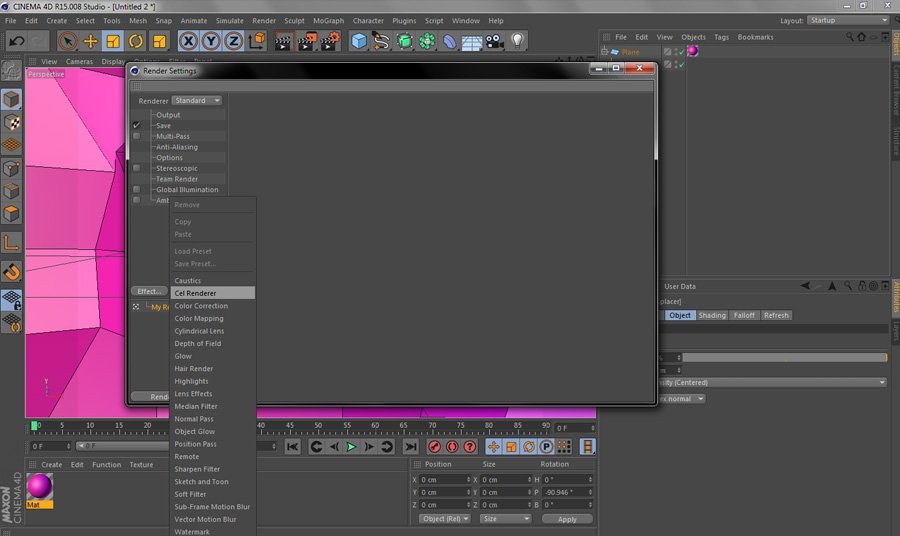
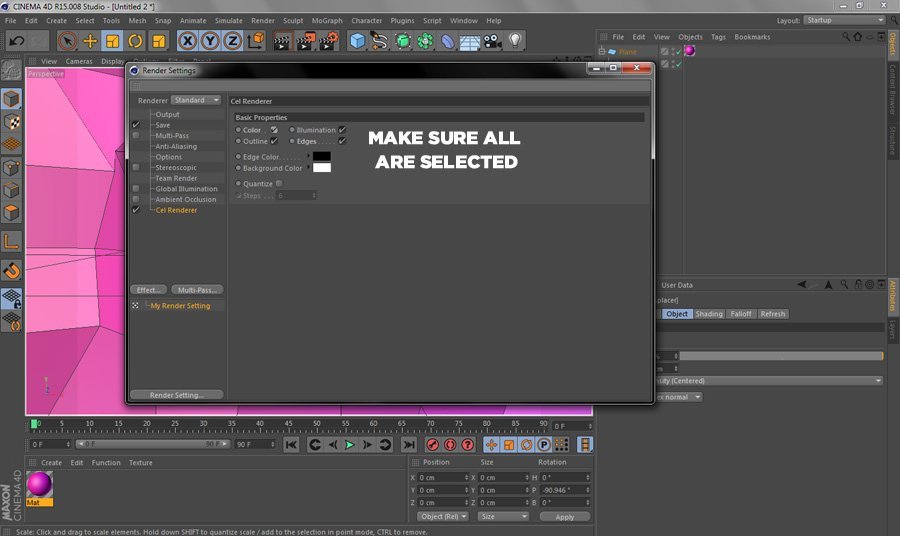
Carrying on from above ^ If we simply click on our displacer object and go to object > height > then change to 122cm we will add a significant amount of depth to our plane. After this is done go to render > edit render settings and click on effect > cel renderer and make sure color and edges are selected along with illumination and outline. Once this is done click render and VOILA! You have a tasty looking and professional Polygon Background to use in your design work!
Finished Product:

There we go baby! DONE!
I hope you have been able to learn something new in this tutorial, Cinema 4D is a great tool and this tutorial is barely a scratch on what the program can do. Now go and create some cool backgrounds for your clients and friends! 🙂 Edd.
Please support Layerform by checking out our pack of 100 Geometric Polygon Backgrounds over at Creativemarket:

Leave a Reply
You must be logged in to post a comment.