Contents
Glitter Text Effect You Say? Lets Go!
Hello all you sexy people! Today we are going to be learning how to create a Gold Glitter Text Effect in Adobe Photoshop. If you are thinking “amazing, but will it take me ages to complete?” then think again, this is a short tutorial that musters some incredible results, so grab a coffee (or whatever your favourite designing beverage is) and try out this tutorial, enjoy!
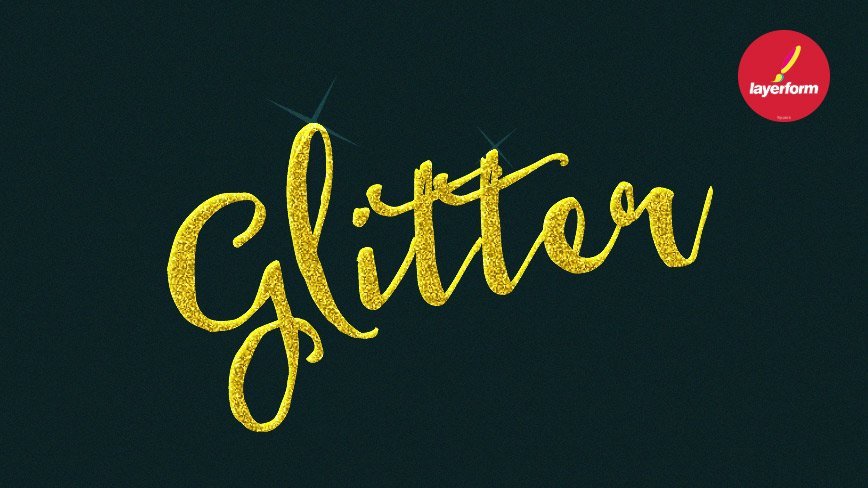
The Final Result:
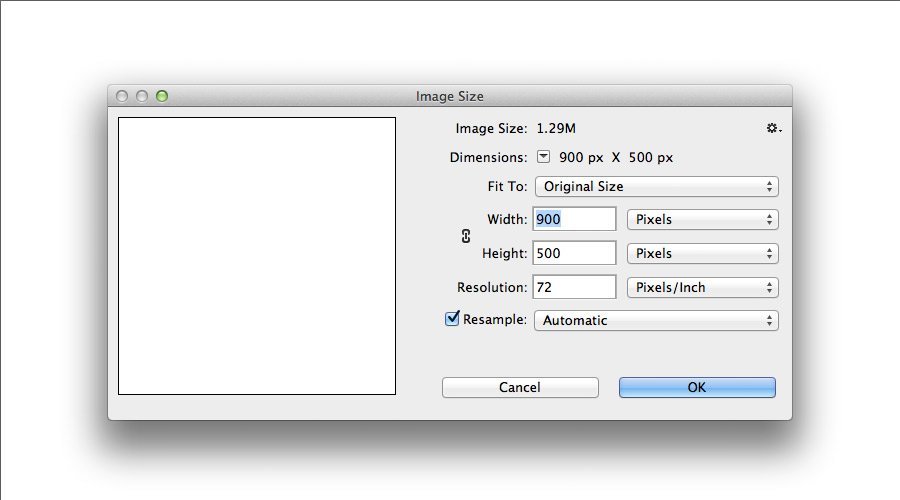
Step 1: Create File
Open up Photoshop (any version that supports smart objects will be fine). Go to File > New and set your Document to the following size (It can of course be any size, but for the sake of this text tutorial, we are keeping the canvas small!)
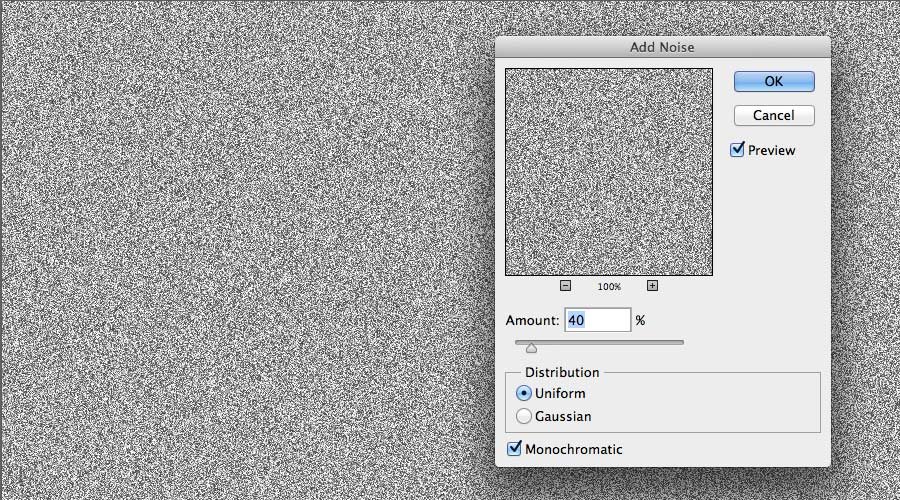
Step 2: Create the Base Pattern
Create a New Layer (Layer > New > Layer) and using the Paint Bucket Tool fill it with #a4a4a4. From here go to Filter > Noise > Add Noise and choose the following settings:
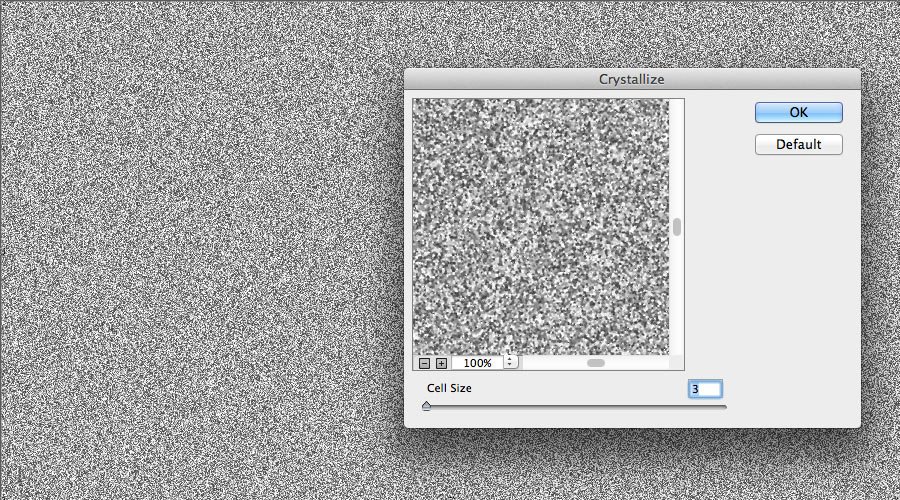
With the same layer selected, the next step is to go to Filter > Pixelate > Crystallize and use the following settings:
From here we want to create a New Layer and fill it with #f9b600 using the Paint Bucket Tool (G). Once you have done this change the Blending Mode to Color and the Opacity to 86%
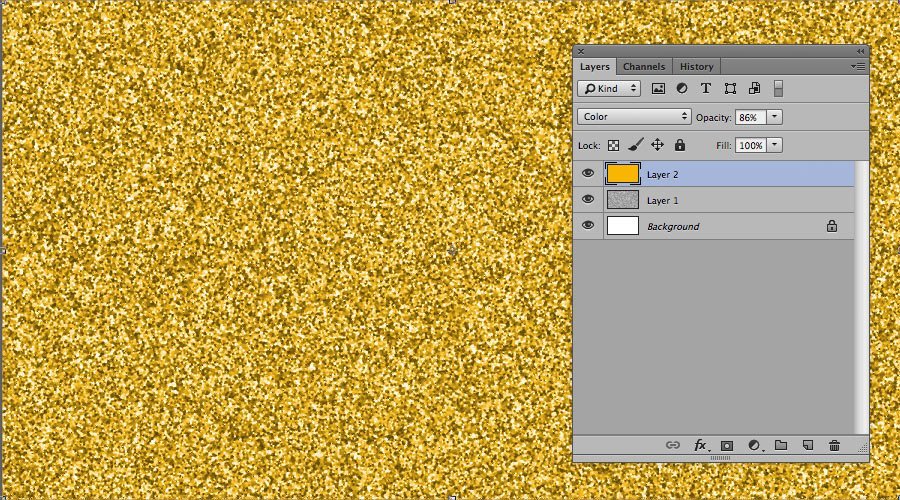
We want to add a slightly more yellow tone to the Glitter Pattern so go ahead an create one final layer above everything else and fill it with #f3d400 using the Paint Bucket Tool again, then set the Blending Mode to Hard Light and the Opacity to 50%

Next you want to grab your base layer and Press Ctrl + M to go to Curves and follow the image below, then merge the Layers by selecting them all and Pressing Ctrl + E(the animated gif below shows these two steps). Finally, you want to go to Filter > Sharpen > Sharpen to give it some detail.
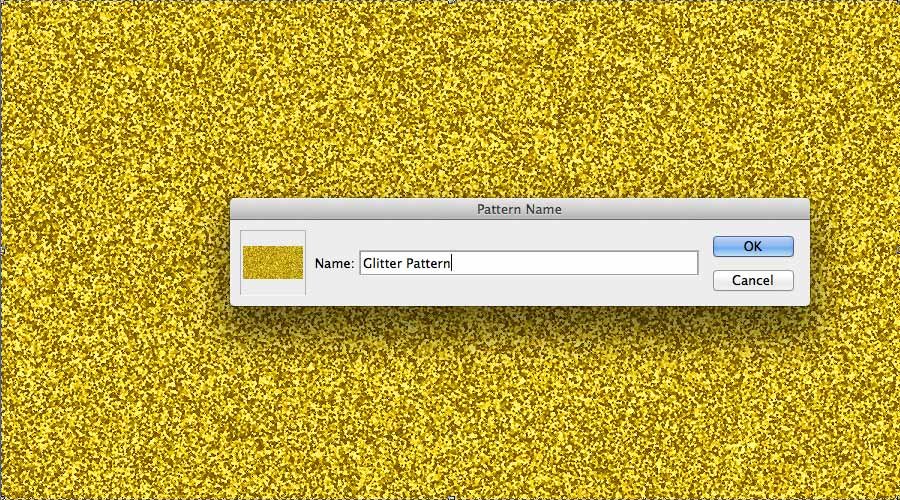
To get your pattern ready to apply to text, you need to press Ctrl + E and go to Edit > Define Pattern, then give your new Glitter effect a name!
Step 3:
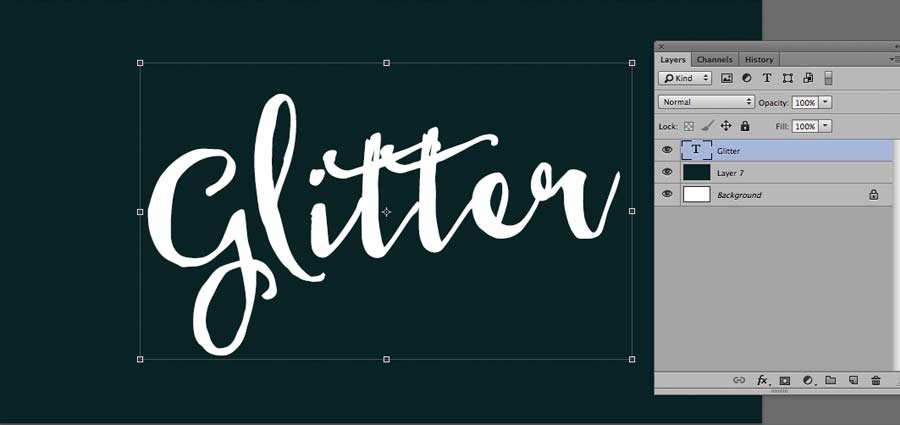
Ok so now we have defined our pattern, go ahead and delete the layer you were just working on, create a new layer (Layer > New > Layer) and with the Paint Bucket Tool (G) fill it with #092224. We want the background to be dark so that our Gold Text has enough contrast. From here grab the Type Tool (T) and with your favourite Script Font, type out the word “Glitter” in White.. We are using Heart & Soul by Nicki Laatz, however if you dont fancy shelling out the dollars, there is a nice script font for free available on Dafont called “Master of Break” which will also do nicely.
Step 4: Create the Layer Style
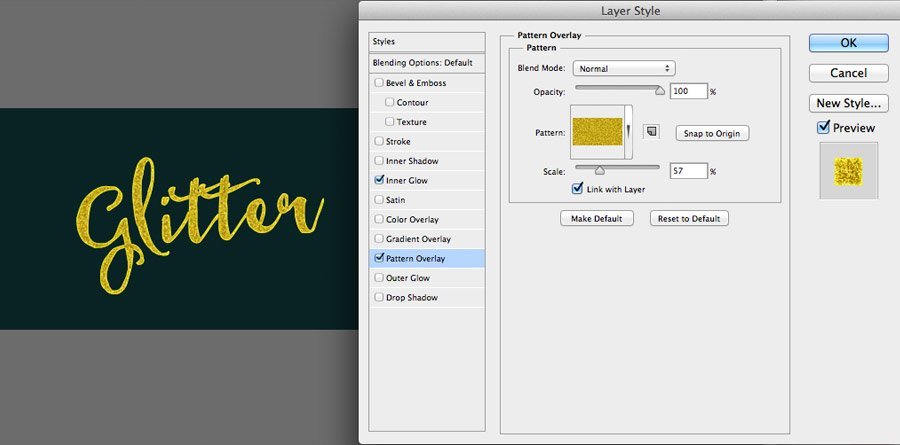
Ok so this is the easy part, select your text layer and either double click the layer or go to Layer > Layer Style > Blending Options and check “Pattern Overlay” and select your Glitter Pattern. Its a matter of adjustment but for this tutorial we want the glitter pattern slightly smaller so set the “scale” to 57.
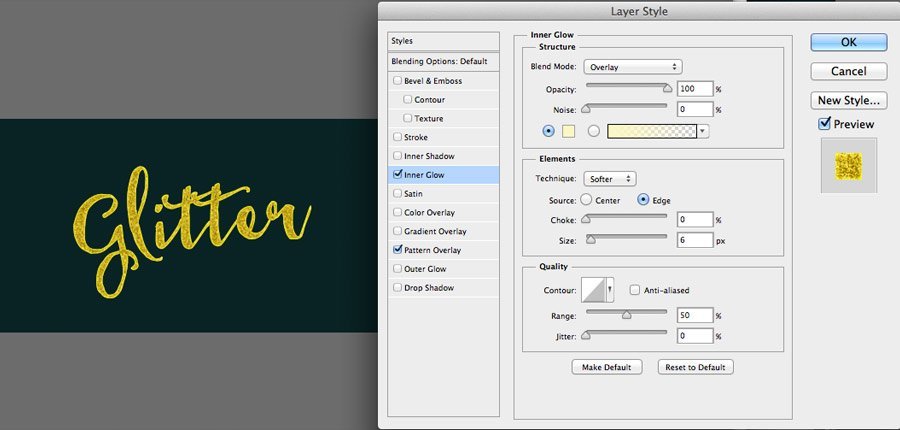
Next step is go to Inner Glow and set it to “Overlay” with the color #fcf6c3 and a size of 6. This will give our text a nice inner highlight and prevent it from looking too flat.
Step 5: Final Improvements
Ok so its looking pretty good, but we need ot make it look a little sharper and add some “shine”. Go ahead and select your text layer then convert it to a smart object (Layer > Smart Objects > Convert to Smart Object) then go to Filter > Sharpen > Sharpen to add a little bit more crispness to our text effect. You can always go back and change the text by double clicking the smart object icon on your layer, this is the beauty of smart objects people!

Just one more step and we are finished. Go ahead and select the Polygon Tool, and in the your settings above click the “Cogwheel” icon, to make sure it has 4 sides and is set to be a star with “indented edges”. From here go ahead and draw two “sparkles” on the edges of your text, just like we have below. The final step is once again to convert these to smart objects, and go to Filter > Blur > Gaussian Blur and then set the blending mode to Overlay.

Final Glittery Goodness!

I hope you had fun following this tutorial. Be creative with what you have learnt, create larger glitter fragments or increase the sparkle effects and make something truly unique! If you want the PSD file for this tutorial, simply enter your name and email below and you can use it for free! 🙂
If you enjoyed this tutorial then please check out more of our Photoshop Tutorials
or check out some of our previous tutorial: How to Create a Double Exposure Effect in Adobe Photoshop
Leave a Reply
You must be logged in to post a comment.