Contents
Crop Layers in Adobe Photoshop
Ok, how to crop a layer in photoshop…Is this a tough tutorial?
Lucky for you my friend, my compadre, my homie….the answer is NOPE.
But it’s certainly an essential skill that you should possess and have in your arsenal if you wish to pursue a career in Graphic & Digital Design, or even more recently generative ai, levelling up in midjourney, upscaling images or just generally mastering AI Tools.
So sit back, grab a god dam coffee and let’s get this shit popping, n’awmsayin? (Insert Gangster persona here).
How to crop a layer in Photoshop
Ok now this is generally going to come down to using the Crop Tool. You can technically Crop “destructively” or “non-destructively”, destructively basically means that anything which isnt a vector object / smart object will be “cut” by the Crop Tool according to the area you have defined.
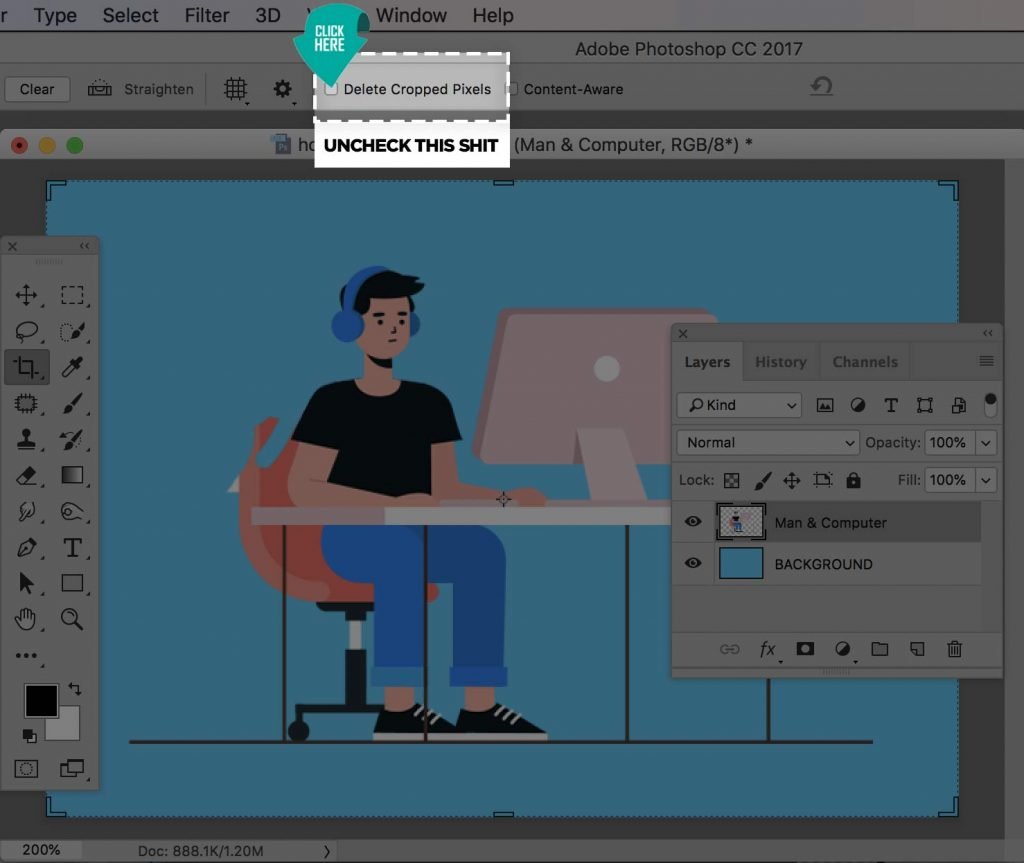
Non destructive cropping is the opposite, whatever you crop wont be “damaged”, but the canvas size is still changed. This is often as simple as unchecking “Delete Cropped Pixels” in the Crop took Toolbar. But instead of me typing it, how about I show you….Let’s get started! 🙂
Using the Crop Tool
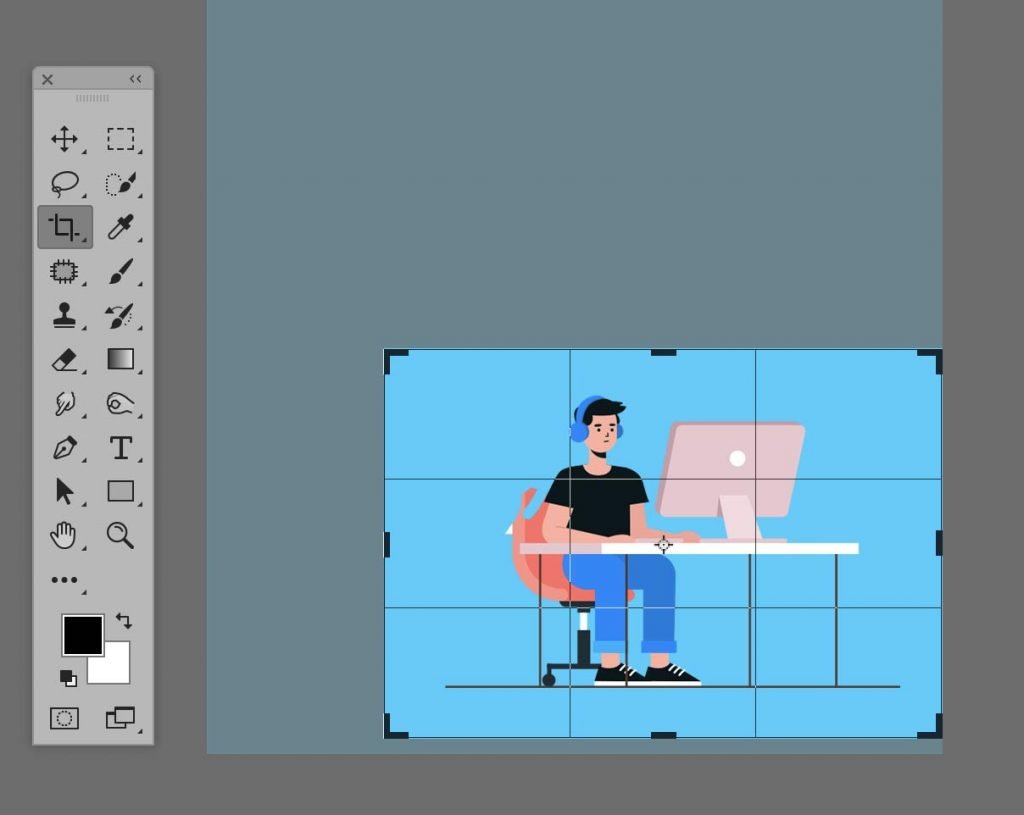
For this tutorial we’ll be using a simple composition. It has a background, and a character. But its way too big, how do we change this?

Ok, so what you need to do is select the Crop Tool by either pressing C on your Keyboard or grabbing it here:

From here, you want to drag in from the left and the top to adjust the image to the dimensions that we want, then press Enter to confirm the crop.
Now this is an easy crop, but what you may encounter are some problems if one of your images isn’t a smart object or vector object. For example, lets crop our image further, half way across the man working on his computer (not very polite of us is it?)
For the sake of this photoshop tutorial, i have Rasterised the image of the character, so that if we cut it, there’s no coming back! :p (Apart from History Panel of course, duhhhh)

What you’ll find is that your image has been cut! oh no!
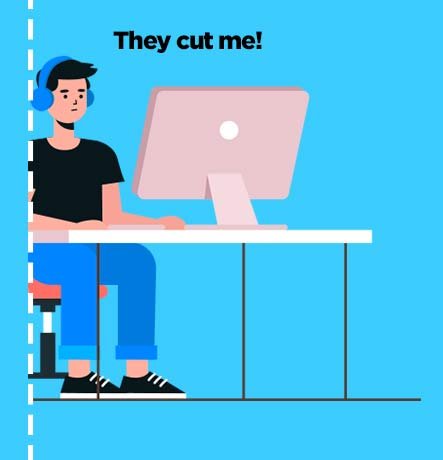
So how do we fix this?
If you’re lazy like me then just make sure most of your elements are Smart Objects or Vector Objects, but if we’re doing things properly here we’ll simply make sure that “Delete Cropped Pixels” is Unchecked, then our precious images will be preserved.
If you’re in a rush, stressed or working for a pain in the arse client, you may forget this and mess up some of your work, and who likes a nagging boss/client? lol.
Cropping Non Destructively in Photoshop
Ok so the above example technically class as cropping non destructively, ie: When we crop we dont delete pixels. However, there are a few other ways we can do this and make a nice little addition to this tutorial.
What we can also do is create a Clipping Mask, then we can adjust the mask accordingly.
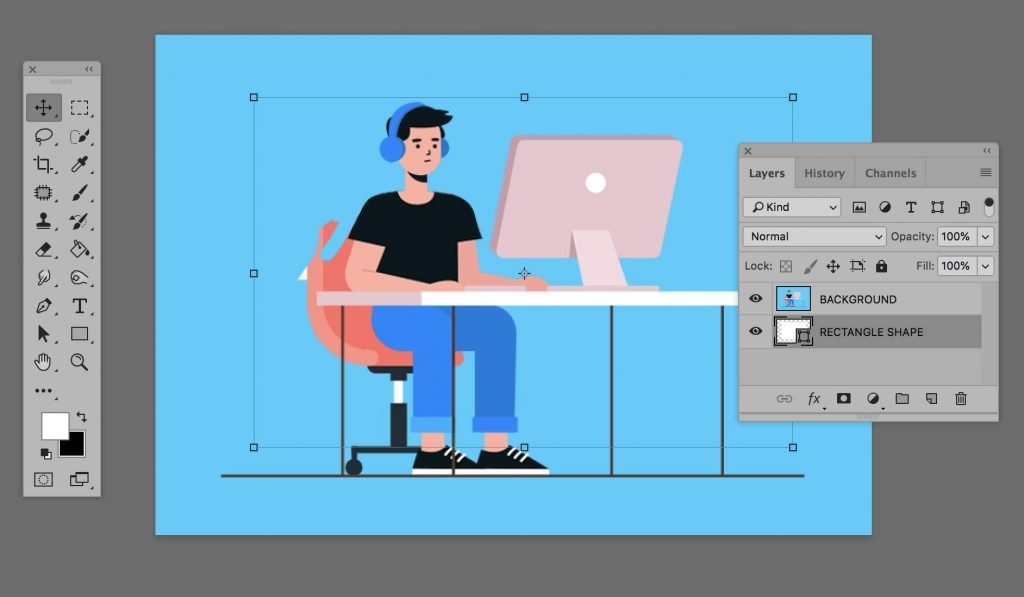
For this example, we have combined the character and background into one layer, then we have put a White Rectangle (a vector shape, not pixels) below, see here:
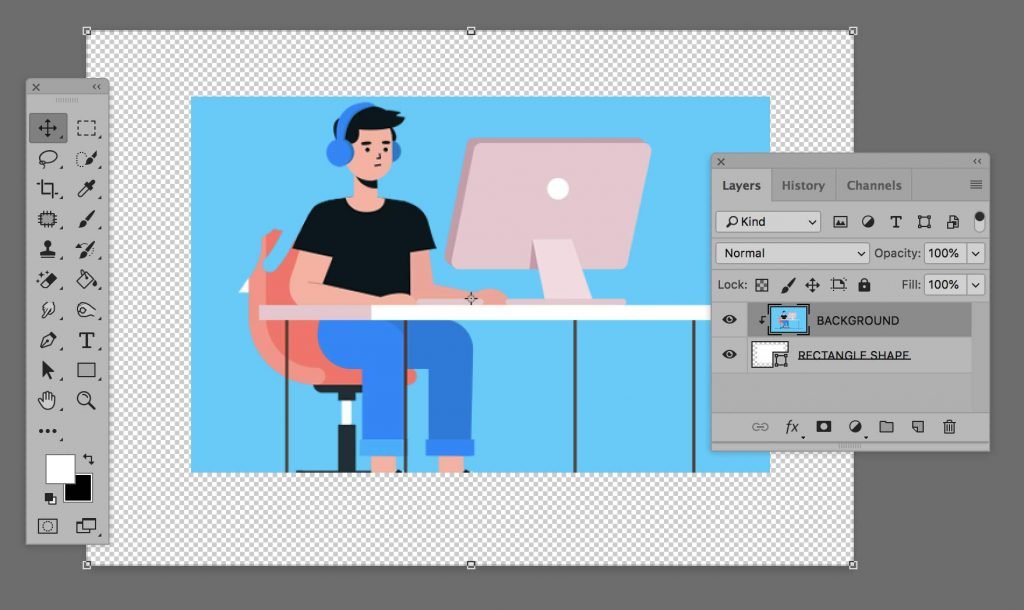
Ok now from here, simply click on the layer above, right click on it and press “Create Clipping Mask”

Voila! You’re finished! From here you can adjust the shape below to adjust the mask, where exactly you want it etc.
Done and dusted! 🙂
There we have it, a few techniques on how to crop a layer in photoshop, I hope you learned something useful! I have a Youtube channel launching soon, so hopefully this tutorials will be made a bit easier, as opposed to me taking screenshots all the time, haha. (laziness of the next degree!)
Leave a Reply
You must be logged in to post a comment.