Contents
Learn to Curve Text in Illustrator
It’s one of those skills you just need to know when learning how to use Illustrator, how to curve text, along with how to create a triangle in illustrator, for example.
Incredibly simple? perhaps, but in this tutorial we will show you 3 different ways that you can achieve this, each with various advantages and disadvantages.
Overall, they achieve the same end result, but what i’m going to teach you in this tutorial will extend far further than just how to curve text in illustrator.
You’ll learn how these techniques can be used to create advanced typographic artwork, this extending your skillset as an illustrator and meaning you can please your clients even more with cool designs!
Technique 1 – Effect > Warp

Ok, onto the first technique, the easiest method when you think of how to curve text in illustrator
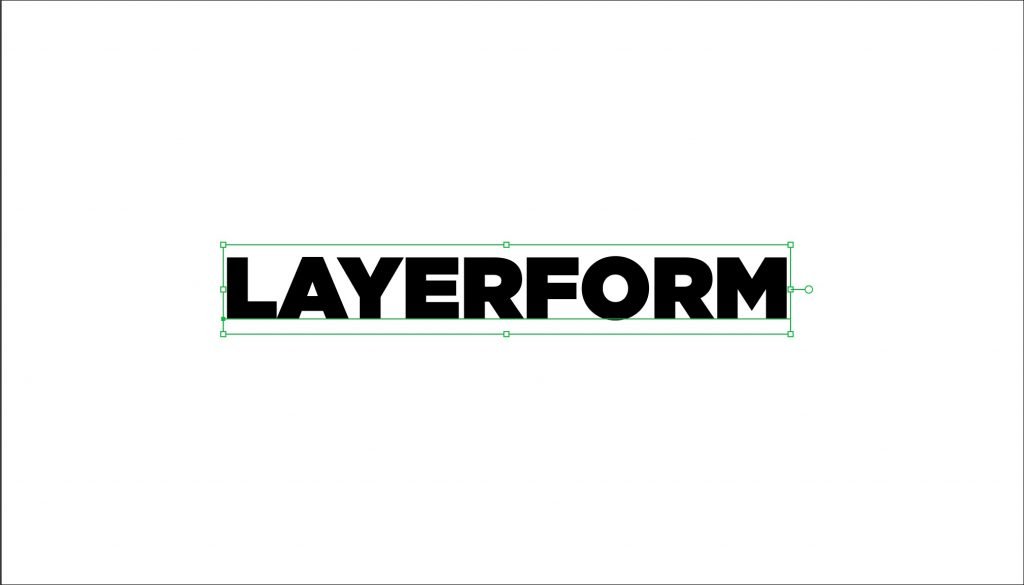
This is a very simple one and well known to those acquainted to Illustrator, but its indeed the very easy Effect > Warp > Arc method. Lets go through this step by Step. Firstly, select your text using the selection tool (V on the Keyboard).
Make sure you have the bounding box surrounding your text, if not then go to View > Show Bounding Box:
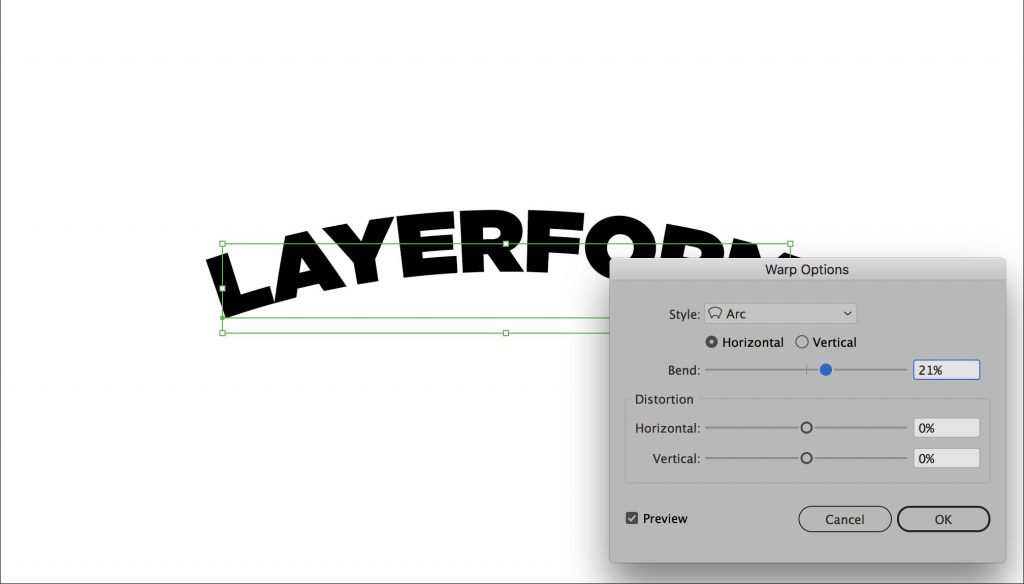
From here with your text selected, simply go to Effect > Warp > Arc, and watch the options that pop up, from here you can adjust the arc in different directions, or from the drop down menu you can select different effects such as “Bulge” which will give you a kind of Netflix-y effect.
Technique 2 – Envelope Distort > Make with Mesh

Lets get juicy with it….. ENVELOPE MESH BABYYYYYY.
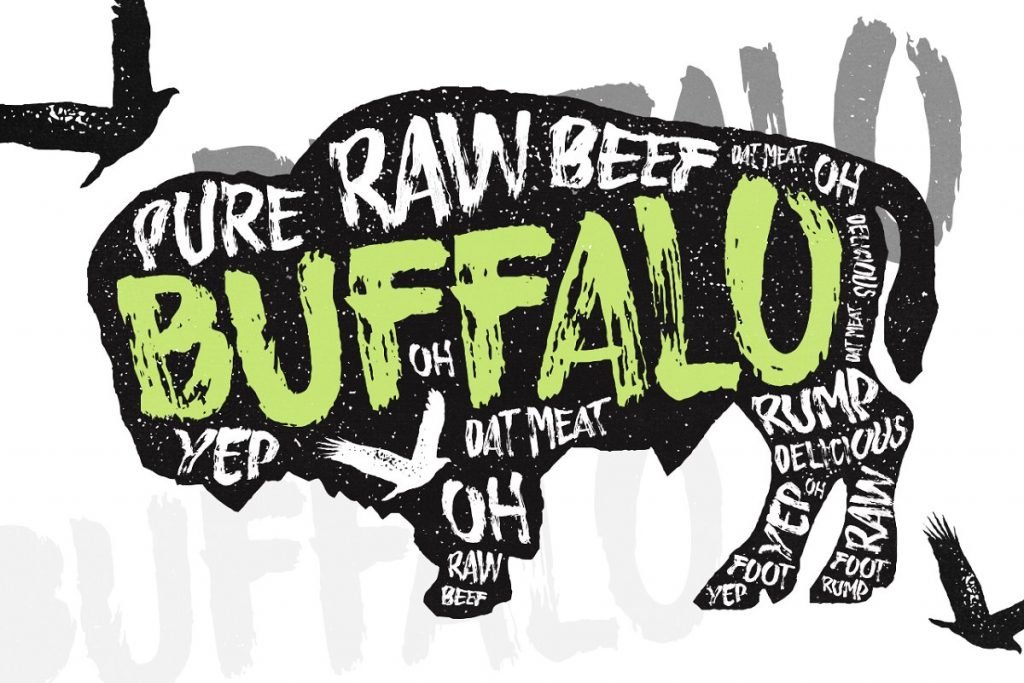
Now this technique is one of my personal favourite techniques on how to curve text in illustrator and I’ll show an example of what I made with this a while ago for Creativemarket, it was a cover graphic for Buffalo Typeface which I made a while ago.
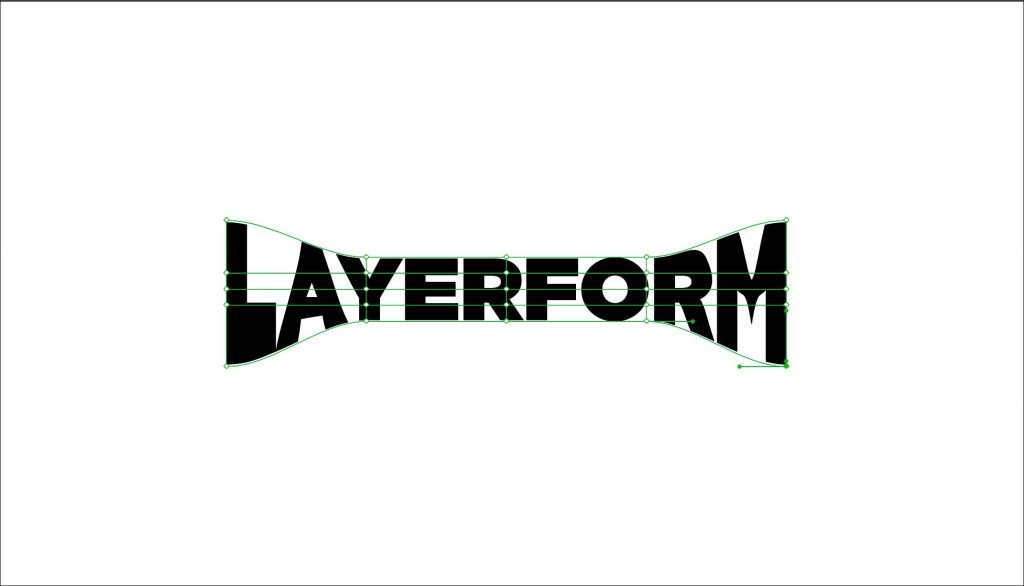
Ok so lets get to it….same thing playas, select your text like before, then simply go to Object > Envelope Distort > Make with Mesh.
You’ll get some default options that pop up, it should be 4×4 Rows and Columns, just go ahead and press ok for now. When you become a bit more of a pro with this effect you’ll want to enable more rows and columns so you have more points to manipulate.

You’ll see what happens to your text below, Illustrator forms a Mesh around your text, allowing you to manipulate it in any direction you want, which means you can create some amazingly custom effects, such as the example below.
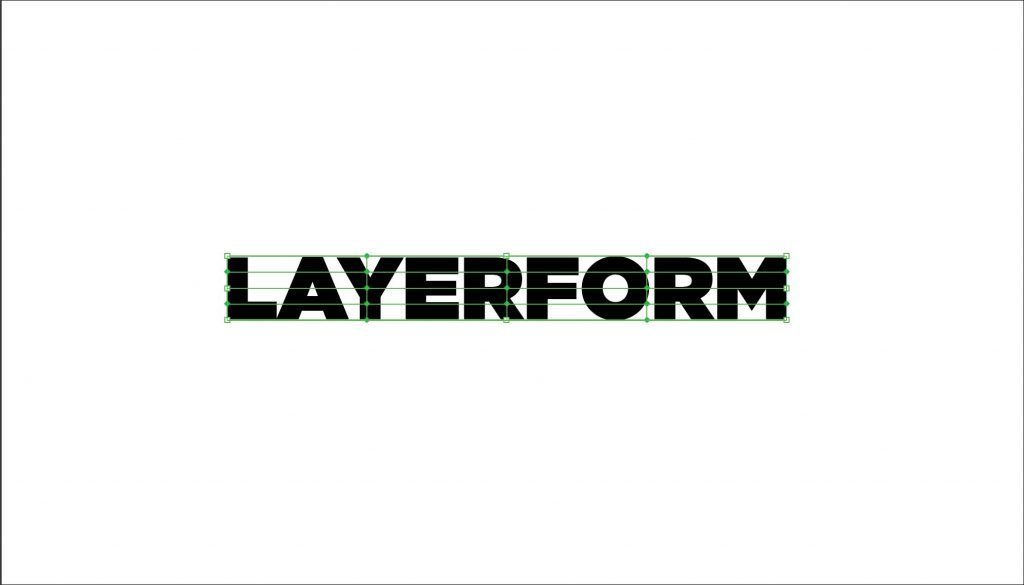
From here, simply press A or click on the Direct Selection Tool and then you can click on the various points around your text and manipulate it.
Technique 3 – Type > Type on a Path
Time to get our typographic juices FLOWING BABBYYYY!!!
Ok, the third and final technique in this mini tutorial. It’s not my personal favourite but its certainly a cool technique and similar to the previous example has a number of real world applications, and your imagination is the only thing limiting you with this tool for sure.
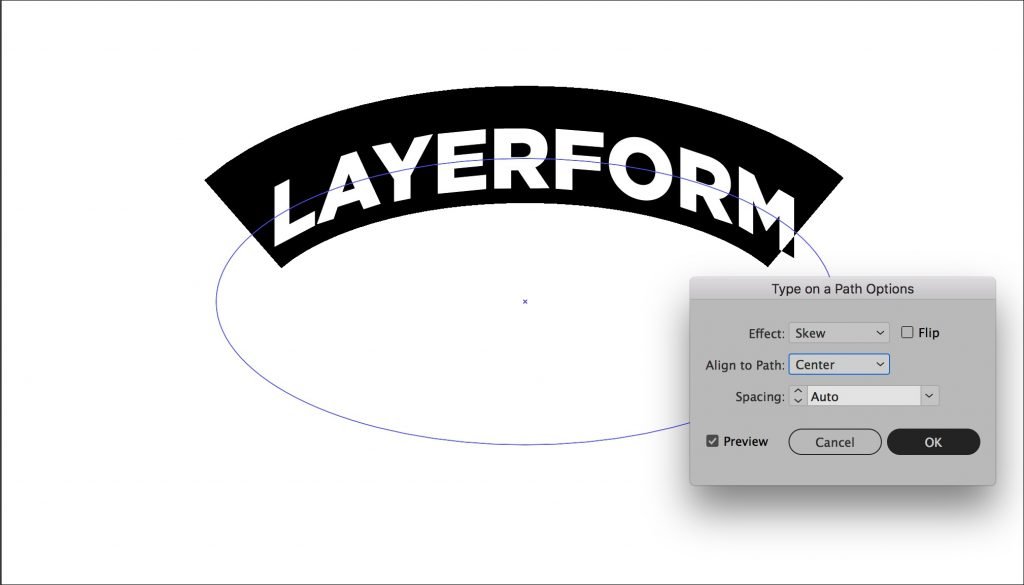
Our set up is slightly different to the previous two techniques, what I need you to do is Press L or select the Ellipse tool from the Toolbar, then draw out a slightly skewed Circle/Ellipse, like below.
Make sure the object is not filled (You can also press the / button, yes forward slash, it will remove the fill on your object):

From here, go ahead and select the Type on a Path Tool, example below.

Now you have the tool selected, go ahead and click anywhere on your “path”, as seen in the example below:
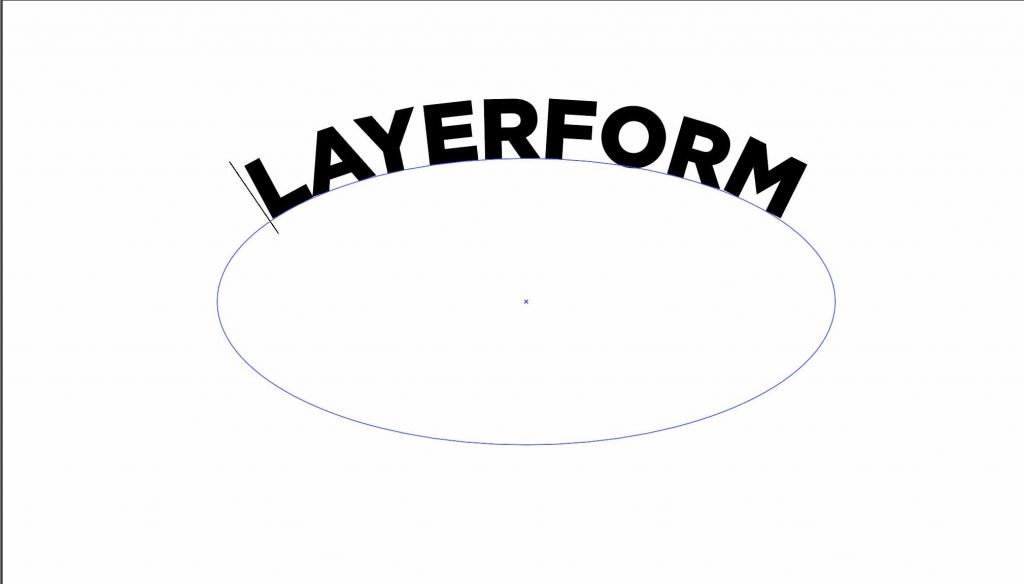
Now you have your text curved!
From here you may want to customise a little bit more, so with your text selected, go to Type > Type on a Path > Type on a Path Options. This will bring up a dialog box allowing you to change various options such as skewing the text slightly, or moving the text directly into the middle of the path, or descender/ascender.
Very useful indeed, and this technique can be used on any shape you want within illustrator (although results may vary!).

Questions & Answers
How to bend text in illustrator?
If you’re wondering how to bend text in illustrator, well, its exactly the same as “curving”, just worded differently. Bending text in illustrator is exactly the same, so simply follow the same techniques that you’ve learnt in this tutorial on how to curve text in illustrator, and you’ll be fine.
How to curve text in photoshop
This is definitely one for another tutorial as photoshop works slightly different to illustrator, however, there are some similarities, and if you simply want to arc text in photoshop quickly, there is a “Warp Text” icon you should click once you equip the text tool in photoshop, then you can simply choose from a bunch of presets. Simples!
How to type on a curve in photoshop
Same as above really ^ Things generally work differently in photoshop than they do in illustrator, however, if you’re wondering how to type on a curve in photoshop, simply follow the same technique above ^. In photoshop there are a whole bunch of premade text warp presets that can make your text curved in a matter of seconds.
That’s a wrap folks!
There we have it, our final technique on how to curve text in illustrator. We hope you enjoyed this tutorial, stay tuned because there will be a video version rearing its head very soon on Youtube, so if you are more of a video-learner, then stick around for that and i’ll add it into this post as soon as possible. If you want to learn more about midjourney, opus clip or topaz ai tools, then check out our section on AI.
In terms of more tutorials, we’ll be doing more and more these next few months, as we are trying to turn Layerform Design Co into the best possible resource for young and new designers trying to expand their skillsets. Stick around for more amazing illustrator tutorials.
Leave a Reply
You must be logged in to post a comment.